How to Fix a Sagging Gutter

Make those gutters right as rain with a few simple steps
Anyone can tell you that time takes a toll on homes, and a little bit of sagging is to be expected. Fortunately, for your home at least, fixing up those sagging gutters is fairly simple and will leave things as good as new with proper care and attention.
Improper water flow around our homes can lead to all sorts of water damage and complications that may threaten the health of your house and family. Here at LeafHome, we want to equip you with all the tools and know-how about the importance of gutters, so read on to learn how to set those crooked gutters straight.
In this article:
Repairing rain gutters is not an overly complex task, but you need to approach the job with the right steps in mind. Check out the following topics to make sure you know what you are getting into.
- Sagging Gutters: Causes and Signs
- Tools and Materials Needed
- Safety Precautions
- Assessing the Damage
- Step-by-Step Guide to Fixing a Sagging Gutter
- Preventative Measures
Sagging Gutters: Causes and Signs
Before you set out to fix a problem, you need to know how much of a problem you’re dealing with in the first place.
Signs of a Sagging Gutter
The first sign of a sagging rain gutter is pretty obvious: the gutters look crooked or out-of-place. You should regularly walk around your home to assess the condition of your gutters. If the gutter looks like it is hanging lower in some spots or maybe you notice visible damage, you will need to take action.
Look at how the gutter sits relative to the fascia board or the flat bit of material that makes up the roof edge. Gutters should sit fairly flush with the roof edge. If you notice gaps or the gutter tilting away from the fascia board, you’ll know that you have issues requiring attention.
Additionally, during rain storms, pay attention to how water flows through your gutters. If you notice water dripping over the side of the gutters or pooling around your home’s foundation, these are all signs of a leaking gutter.
Tools and Materials Needed
The materials you’ll need to fix a gutter depend on what exactly is wrong with it, but there are a few items that you’ll likely need.
- For one, make sure you have a solid ladder that is tall enough for you to reach the gutters without needing to stand on the last few steps.
- You’ll also need a hammer and a screwdriver or power drill to replace gutter screws and gutter brackets.
- Grabbing a box of new gutter spikes, brackets, or other fasteners is a good idea, too, if some of your existing hardware is rusted or damaged.
- Lastly, some silicone sealant is a great final touch to keep leaks to a minimum.
You should also prepare the materials you’ll need to clean the gutters, so prep some gloves, a bucket, and a hose to flush out the gutters of any lingering debris.
Safety Precautions
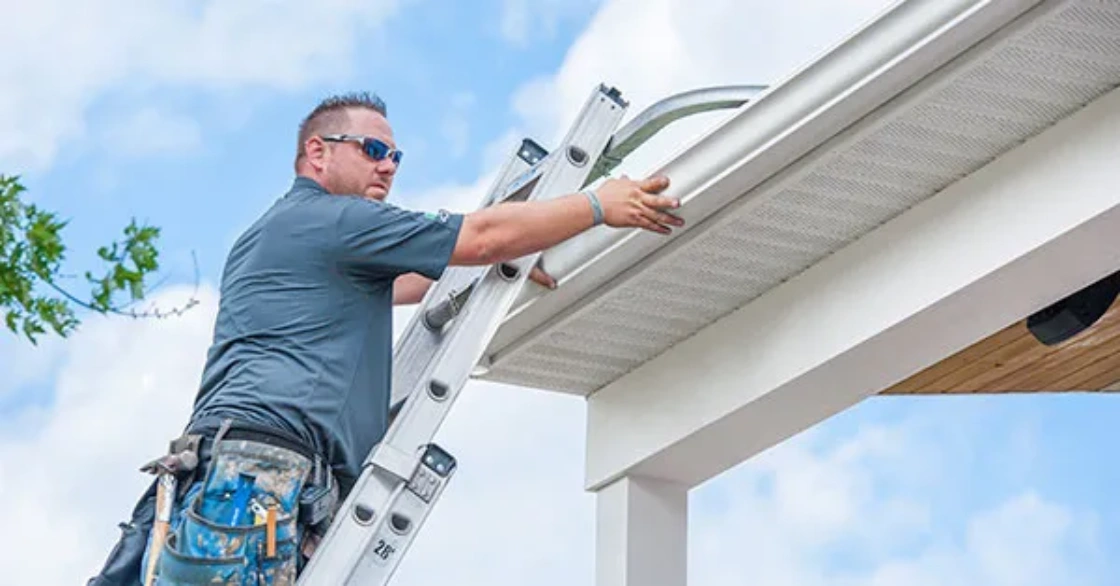
Since you’ll be working on a ladder, you need to think about safety. Have someone help hold the ladder or spot you while you are climbing to prevent it from wobbling or falling over, which can cause serious injury. At the very least, situate the ladder so all feet are firmly planted on the ground.
Make sure to position the ladder so you do not have to reach too far to get to the part of the gutter you are working on. And even if you are tempted to reach just a little bit further so that you don’t have to climb down and move the ladder, fight that urge. Keep moving the ladder as you work your way along the gutter system.
Assessing the Damage
Gutters can appear damaged for a wide variety of reasons, so you need to carefully determine the cause of the issue so that you can fix it properly (and even prevent future damage).
First off, note how your gutter is attached to your home. You’ll likely see either long spikes that poke through both sides of the gutter and into the fascia board, or you have gutter brackets on the fascia that support the gutters. These points are often where things go wrong. Spikes and screws can come loose, or the original holes become worn down.
If you have long expanses of sagging gutter, the fascia board where everything connects might be to blame. Water damage can cause these boards to warp and rot, which leads to gutters sagging in long swaths. While you are inspecting your gutters, check how solid the fascia boards are, too.
Step-by-Step Guide to Fixing a Sagging Gutter
Most homeowners should be able to handle moderate repairs if they take the time to prepare and plan their approach.
Step 1: Clean Out the Gutters
The first thing you want to do is clean out your gutters. This will give you a better workspace, remove any obstacles to drilling new holes or adding new screws, and also make leveling the gutters easier. If you’re looking for gutter cleaning tips, check out the link for some helpful how-tos.
Remember that gutter cleaning is a vital part of keeping your home happy and healthy. Clogged gutters can lead to sagging gutters after all, so proper maintenance can save you both time and money in the long run.
Step 2: Locate the Problem Areas
Look over an entire length of the gutter at a time to check for damage or loose gutter segments. Inspect gutter spikes and mounting brackets for rust or damage and carefully plan out the best order to tackle each problem.
Remember, you don’t want too much of the gutter to go unsupported, so you’ll need to work a little at a time. Make note of all the problem areas before you start so you don’t accidentally miss something.
Step 3: Tighten or Replace Gutter Hangers
Sometimes you’ll just need to tighten existing screws, spikes, or other loose fasteners. If tightening the screws feels secure and you do not notice signs of rust or damage, that may be all you need to do. However, if the screw seems to just twist in the hole or if you do notice wear, tear, and rust, you’ll need to swap out spikes and/or brackets.
Carefully unscrew or pry out the existing spikes and dispose of them. It’s also advised to drill new pilot holes for whatever mounting system your gutter uses since the existing hole is likely worn out. Just make sure you have something supporting the gutters every two to three feet.
Step 4: Repair or Replace the Fascia Board
If you notice damage to the fascia board, things are going to get a little more complex. You’ll need to remove the gutters entirely from the board in question first. After that, you can carefully remove the existing fascia board, taking care to not damage neighboring sections of other roof elements.
You then need to measure the length needed carefully and cut new fascia board as needed. Mount the new board and seal both the seams and the wood. Given the added complexity of this task, you may want to consider hiring a professional.
Step 5: Adjust Gutter Slope
Gutters use gravity to whisk rainwater toward the downspouts, so you need to ensure that the gutters are angled slightly to promote this water flow. Specifically, you want a slope or pitch of around half an inch for every ten feet in the direction of the nearest downspout. Less of a slope may lead to water pooling in the gutters, and too much of a slope can cause overflows. You can usually adjust brackets or the position of the downspout to create the necessary slope.
Step 6: Seal Joints and Holes
As you add new spikes or replace portions of the gutter, you create new holes and seams that may allow water through. As you finish up your project, go through with a sealant like silicone caulk to plug up those gaps and holes in the gutter to promote as watertight a system as possible. If you need to replace the fascia board, pay extra close attention to waterproofing where the new board connects to the roof.
Step 7: Reconnect and Secure Downspouts
Lastly, if you have to disconnect your downspouts, take care to reaffix them to the gutter system. Remember to keep the slope of the gutters in mind as you make those final adjustments, and don’t forget to seal off the gaps and seams between the gutters and the downspouts.
Step 8: Test Your Repairs
Consider using a garden hose to run water through the gutters to check for any leaks or issues with the slope. You don’t want to discover problems with your gutters in the middle of a thunderstorm, after all.
Preventative Measures
While some damage to your gutters is unavoidable, you can limit the frequency and complexity of repairs with proper maintenance.
Regular Maintenance Tips
Cleaning your gutters regularly will prevent clogs and debris from weighing down gutters and causing them to sag. While you are up on the ladder cleaning things out, you can tighten up screws and brackets as needed, which will cut off problems before they start.
Installing Gutter Guards
You may wonder if gutter guards are worth it, but if you’re looking to keep your gutters in great shape while limiting your time on a ladder, they are a worthwhile investment. The materials and gutter guard installation are fairly affordable and DIY-friendly, especially when you think about long-term savings in both time and money.
Keep your home safe with Leaf Home
It’s all too easy to forget about your gutters until they become a problem, but our LeafFilter gutter experts at Leaf Home are here to help you keep your water management systems running smoothly with as little fuss as possible. Remember that even if your gutters are sagging now, with a little care and know-how, you can make them better than ever and keep them that way for years to come.
Frequently asked questions
How do you support a sagging gutter?
Inspect the existing brackets or gutter spikes supporting your gutter. You may need to replace them and drill new mounting holes if you notice damage.
How do you level old gutters?
You want your gutters to have a pitch of roughly half an inch per ten linear feet of gutter. You can use a measuring tape, a string, and a level to gauge the slope of your gutters. Find the point furthest from the downspout and mount one end of the string there. Then measure out ten feet in the direction of the downspout, pulling the string along as you go. Check to make sure the string is level and then measure the drop in the gutter relative to the string. You should see a drop of around half an inch for every ten feet.
How do you fix a gutter that sags in the middle?
Check the fascia board for damage first, especially if long stretches of the gutter are sagging. After that, check the gutter spikes or brackets for damage and replace as needed to bring the gutter back to where it needs to be.
How do you fix a gutter that is falling off?
Severe gutter sagging may be caused by issues with the fascia board or structural damage to the gutters themselves. Check for that kind of damage first before attempting to rehang the gutters.
How do you change the slope of a gutter?
You can adjust the slope of a gutter by adjusting the tightness and position of the hanging brackets and the position of the downspout. It’s important to account for slope when preparing to mount your gutters and when drilling pilot holes.


